Showing posts with label craft. Show all posts

Tuesday, December 21, 2010

Graham Cracker Houses

On Sunday nights we try to get together with Dan's family. This weekend I took a goodie bag with me and we played Board games and made Graham Cracker Candy Houses. It was inexpensive and lots of fun. New Family tradition me thinks.

Sophia's House turned into a bed. She kept toppling over the house so I started to make a stack of crackers to give it a filling, than was going to cover the outside and add a peaked roof. I got half way there, but Sophia liked it as is. Who am I to argue with her ;-) It turned out gorgeous, and she has pretty stained lips from eating all the jube jubes.

 This is My Sister-in-Law Stephanie, she put us all to shame with her precise piping and writing.


My Sister -in- Law Rachelle, Can you believe that at 28 years this is the first gingerbread/ candy house she has ever made???? Wah?! Not too bad for a Newbie ;-D

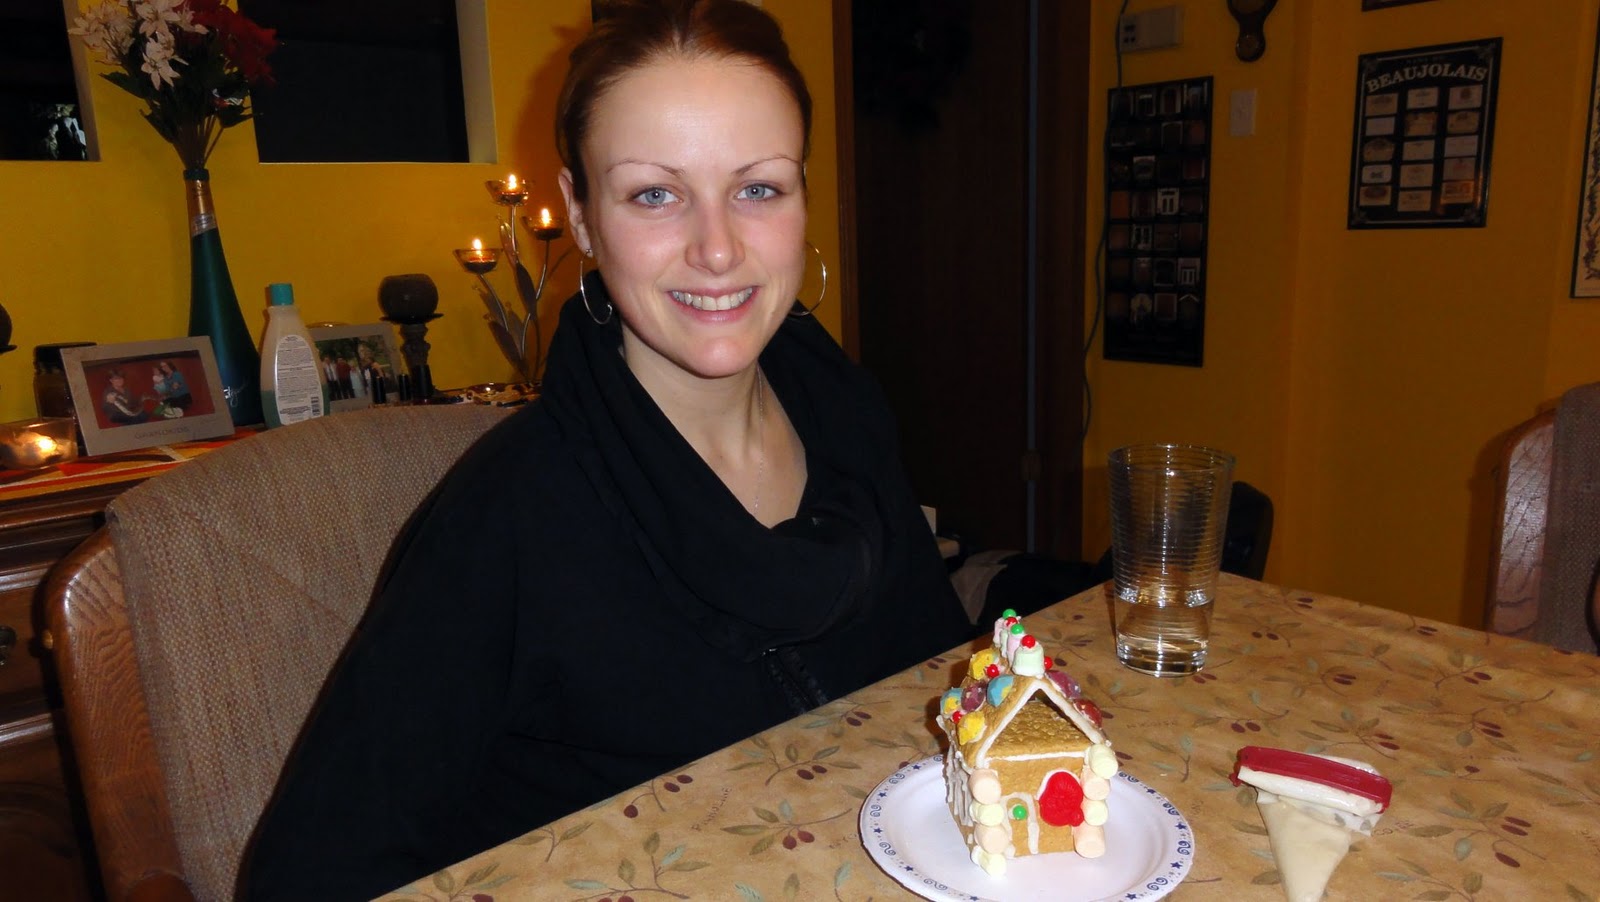
I hate pictures of myself, but Fair is fair. Here's my Graham Cracker house too. It was fun to make, and simple!

Here are our houses Clockwise starting from the left Mine, Stephanie's, Rachelle's, and Sophia's.

What are your family's Christmas Traditions? I'd love to hear about them. Leave a comment.

Tuesday, November 23, 2010

Rag Doll

I made a rag doll, she looks a little goofy, and I haven't painted her face yet, but it was really simple, and the girls love it.

What I used:
  • Skin toned fabric
  • Colourful cotton for dress
  • colourful cotton for leggings
  • felt for hair
  • fiber fill
  • Lots of Pins
  • Thread that matches the hair
  • Sewing machine
I got the idea for this off of the Martha Stewart Website There is an awesome tutorial and pattern, unfortunately for some buggy reason my computer won't let me open the files, so I just made it up as I went, it's not quite as cute so if you want to make one I suggest following the pattern.

I started off by cutting my Head pieces, 1 skin coloured circle for the face, 1 felt circle for the back of the head, and  hair to frame the face. I also lined the back of my head with fabric because I used cheap thin felt.

I sewed the hair to the face using a matching thread, and also cut 4 tear drop shapes out of the hair felt, added a small bit of fiber fill and stitched around the edge to make piggy tails. And sewed the dress rectangles onto the heads, Right sides facing.

I sewed long tubes for arms out of the beige, and long hockey stick shaped tubes out of my legging material. Turned them right side out, stuffed with fiber fill

I pinned the Arms, legs, and piggy tails to the right side of the doll

And then sandwiched them with the top piece of the dolls body

Pin all the way around making sure that the ends of the arms, legs and tails are in the seam, and the tips of the fingers and toes aren't going to get sewn in.

Start sewing above one piggy tail, back stitching at the beginning, and finish just past the second piggy tail, back stitching at the end as well. This will leave an opening of 2-3".

Ensure that all the edges are sealed, double check the neck, it took me a second shot to seal the head to the dress. Reach through the opening at the head, grab Dolly's feet and pull her right side out.

Stuff her full of fiber fill, or add some rice to her bum to weight her down, Pin the top of her head shut and whip stitch closed.

I haven't made a trip to Michaels yet to get some Fabric Paint medium, but I plan on painting her face on. I also have a doll I made before this one, she's even goofier looking, but once I paint their faces I promise to put some pictures up.


Monday, November 15, 2010

Snowman painting

As I previously mentioned here I have a whole bunch of 1x 6 wood lying around. Sophia was working on painting her little clay car So I ran outside and grabbed a piece of wood off of the pile, gave it a quick sanding. And started painting
She wouldn't let me take a picture of her but here's a sneaky one.
Sophia's very colourful Car
I started by pouring lots of white, blues, purple, and yellow and started mixing,
I blended left to right across the wood for the sky, and down like a hill for the back ground,


Using a greyish blue I outlined a snowman

Then left it to dry

This is how Sophia's car turned out. She decided on doing all green

A few days later when Inspiration hit I went over my Snowman with white, allowing the greyblue to show through, I added arms, shadowing int the elbow crooks, and added mittens. I painted rosey cheeks and a carrot nose and drew eyes and mouth with a sharpie. I think it turned out really cute! Sorry I don't have pictures of my second night of painting. I was being lazy ;-D. I will definitely be making more of these~

Friday, October 22, 2010

Paper Pumpkins

I'm not "all about Halloween" but I want it to be fun for the girls so I decided that Sophia and I would decorate a bit. The goal was to spend $0 and have Sophia fully involved. We traced the lid from our animal Crackers bin and Sophia and I cut out Orange circles for our pumpkins, Next we cut little stems and faces out of Green and black, and start sticking them on. we used double sided tape because I couldn't find the glue stick. Sophia got pretty inventive with some of her pumpkin faces, and named them all.
Princess Larvie:    I cut most of the features since Sophia cut her black paper into long thin strips

Ava

Ifem, but I call him Emo

Fraoma, she has a mustache

Ima, the Girlfriend and Mustache boy, the boyfriend. They have legs so they can walk, and go on a date.
Sophia made Mustache boy all by herself, he's my favourite!.

Fazha - he must be dutch, das is veird yah?

Aisha

Aiia

We rolled out a ribbon and stapled the pumpkin on, hiding  them behind Eyes.

All strung up.
If you make some paper crafts send me pictures and let me know how it goes, I love Ideas.