|
| Sneak peak; Well I have to save something for a Halloween post! |
What does Sophia want to be for Halloween? Why a princess of course! So We looked at several stores, I really didn't want to spend $30 or $40 on a Disney princess dress. Oh brother, Disney princesses. You'll see 100 Belles, and Cinderellas, and Auroras, and... well I could keep going and name them all since I have a 3 year old girlie girl. I'll be nice and spare you ;-).I had made Sophia
this Tutu a little while ago and put it away for Halloween, But a tutu? For a princess it just didn't seem right, I need a gown, a big twirly dress. Sophia said she wanted a white dress (weird right? I 100% expected Pink!)

So instead of buying fabric I ran down into my dungeon and found this.... Ahhh My clearance table cloth. I had snagged the last three of these at Extra Foods before my wedding thinking I'd use them. But I didn't. Did you see the price? How could I resist. And believe it or not, I paid 50% of the clearance price, You got it I paid $1.42 for this beaut. Two of them made their way home with my Mom since I don't have a 90" long table. The other one has sat around for 2 1/2 years waiting to be used for something. The game plan, to make a dress and use the tutu as a crinolin. Completed with some cheap princess accesories and voila!
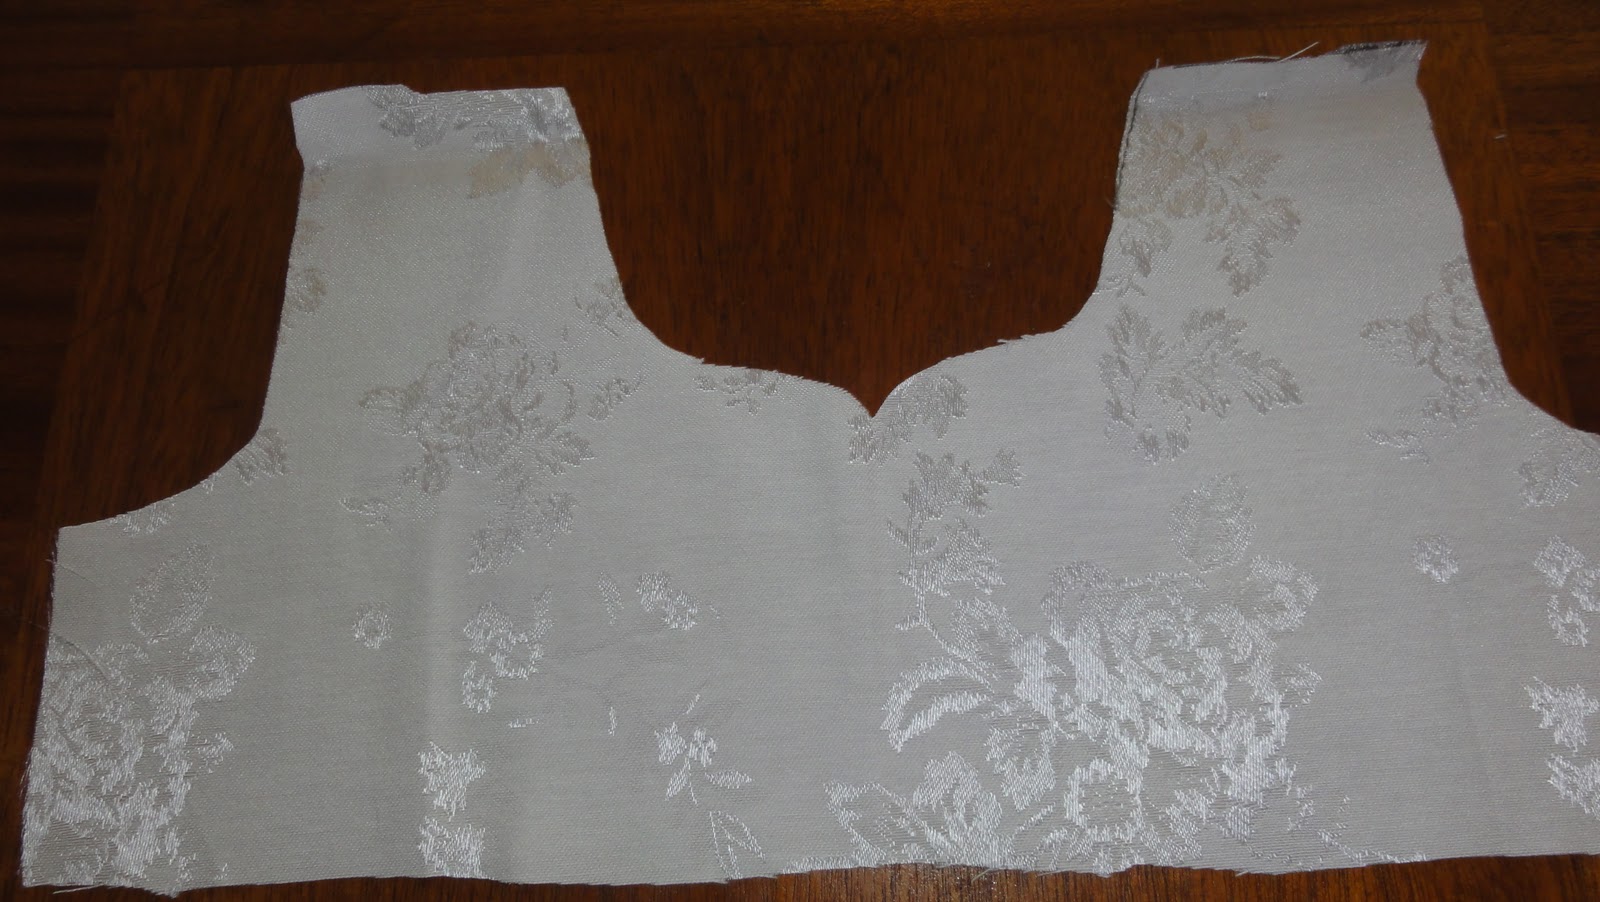
I used a dress of Sophia's to roughly estimate the top. Remember to leave room for seams, and for growth. Plus there's a good posibility that Sophia will have to wear a winter jacket under this dress.
I cut them out and for the front piece I added an interesting neckline, and the back I cut down the middle, so I can add velcro and have an adjustable opening
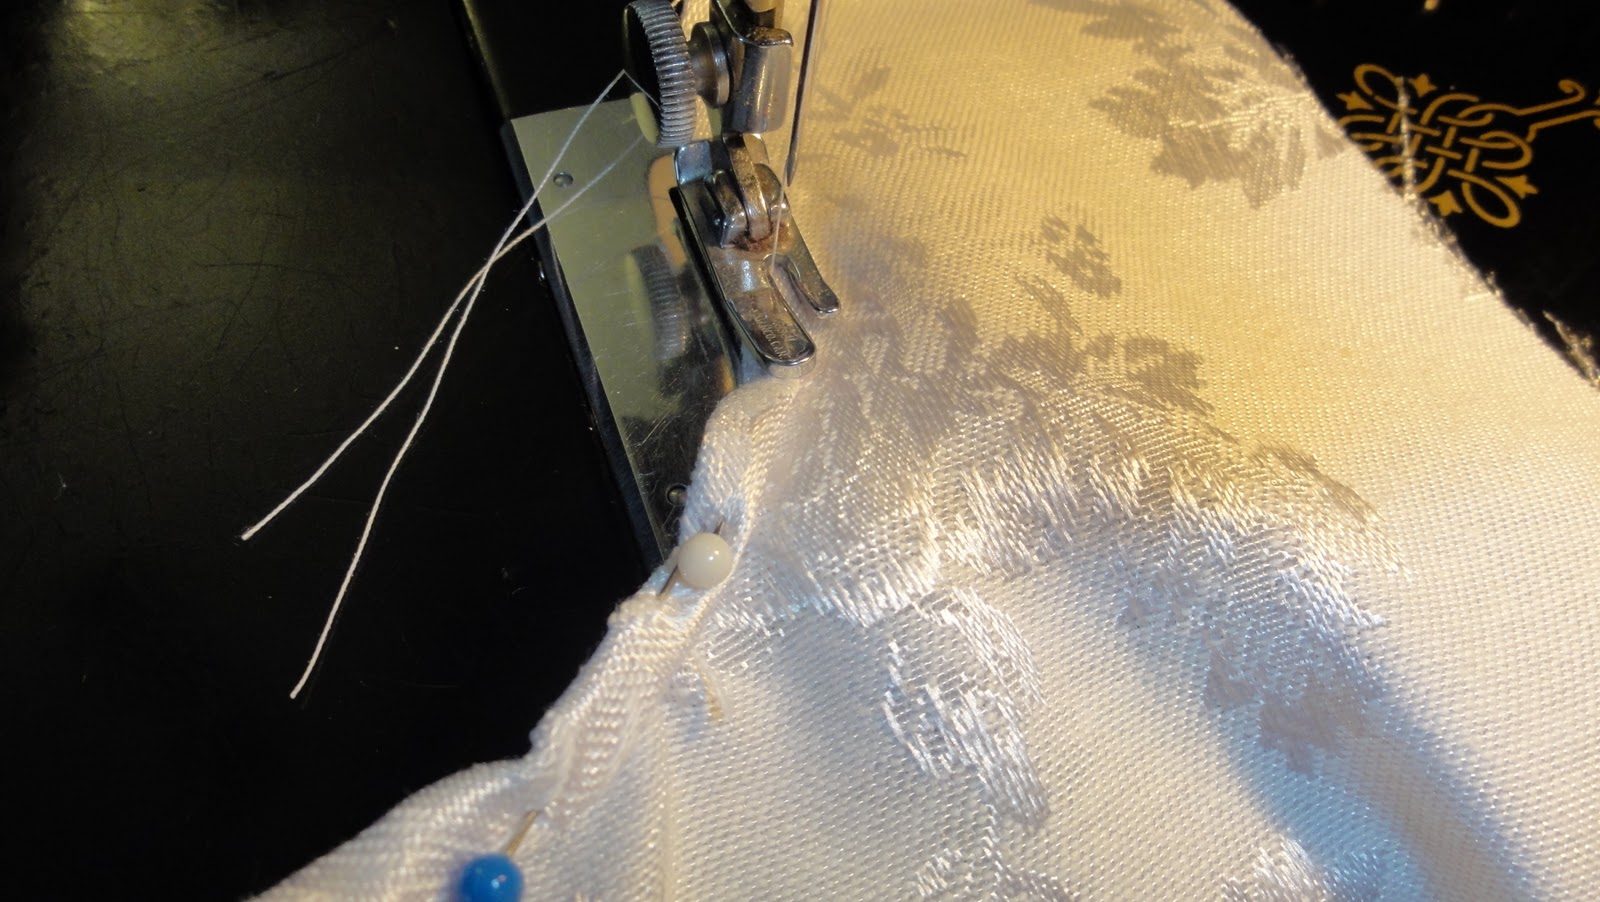
Then I folded in the neckline and sewed it in. I should have used bias tape, but I didn't want to go to the store, and Hey, it's just a halloween costume!
I sewed the straps together, and the two back pieces (Remeber I cut it in half) to the armpit of the front piece
For the skirt I wanted a good 'twirl' so I decided to make a circle skirt. I cut a large circle by folding the table cloth into triangles and rounding the edges. I made the waist opening about 2x bigger than needed so I could gather it and make it poufy.
Then I folded in the edges and sewed, I found it easiest to just fold as I went. Since this is just a costume I didn't worry too much about the finish of it. If I were making a 'real' dress I would iron and pin. But I prefer to wing it.
I sewed a bast stitch (largest stitch on the machine) and pulled the back thread carefully to gather it up and make the waist on the skirt the same size as the waist on the top.
Pin and sew the top to the gathered skirt

try it on for size. Not too bad, It's big enough to layer underneath!
I cut two strips that were about 4" wide and long enough to attach to the armhole plus 2"

Pin the arm to the armhole (make sure right sides are facing!) I did two pleats on the top of the arm (hence the extra 2" that I added)

try on model to check out fit. Looks great!
I sewed some velcro to the back, If this was a 'for real' dress It would be great to have snaps or buttons back here.

Check it out. It's cute but still a bit plain looking, Time for some toule accents on the arms to match the crinolin/ tutu, and accessories

There, Long white gloves, pearl necklace, also a tiara and Wand. Stay tuned for the Halloween pictures.
Thanks for checking it out. I adore comments and if you try a dress like this please
send me pictures!